The “no-makeup” makeup look is about looking like yourself on your very best day: rested, glowing and fresh, with nothing that looks obviously “done”. It relies on good skin prep, sheer textures and a light hand. Here is how to master it.
Key takeaways
- Glowing skin is the foundation of the look
- Sheer coverage, concealed only where needed
- Cream products melt into the skin
- Brows and lashes add definition quietly
- Less is more: build slowly
Step 1: Prep your skin
Cleanse, then apply a hydrating serum and moisturiser. Give it a few minutes to absorb; this is what makes the skin look plump and radiant. In the morning, finish with sunscreen. For the basics, see our skincare routine for beginners.
Step 2: A sheer base
Use a skin tint, tinted moisturiser or BB cream, or mix a drop of foundation into your moisturiser. Apply with fingers, focusing on the centre of the face. Freckles and natural texture showing through is part of the look.
Step 3: Conceal where needed
Use a creamy concealer only where you need it: under the eyes (inner corners), around the nose and on blemishes. Tap, don’t rub.
Step 4: A natural flush
Tap a cream or liquid blush onto the apples of the cheeks and blend up. Choose a shade similar to your natural flush:
| Skin tone | Blush shade |
|---|---|
| Fair | Soft pink, peach |
| Light to medium | Rose, apricot |
| Olive | Warm rose, terracotta |
| Deep | Berry, deep coral, brick |
Step 5: Brows
Brush brows up with a clear or tinted gel. Fill only sparse areas with a pencil, using fine hair-like strokes. Brows should look fuller, not drawn on.
Step 6: Eyes
Curl your lashes and apply one coat of brown or black-brown mascara to the top lashes. For extra definition, smudge a brown pencil into the upper lash line.
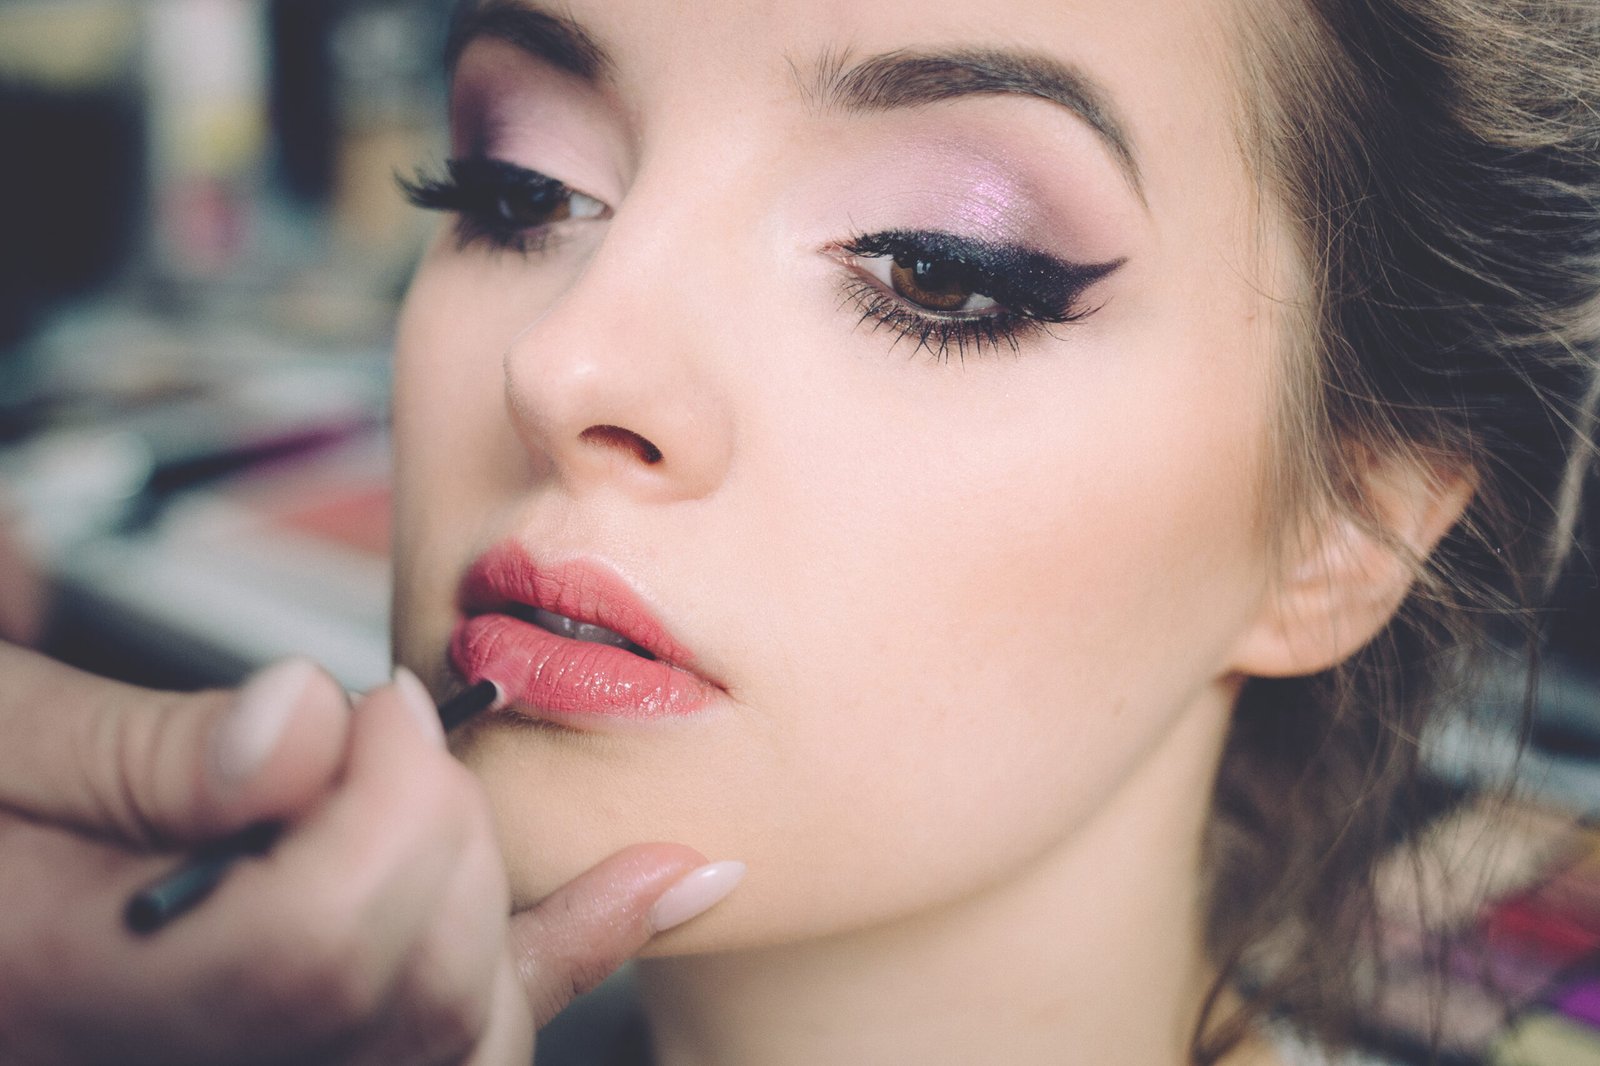
Step 7: Lips
Choose a tinted balm or a sheer lipstick close to your natural lip colour, one shade deeper. See choosing lip colours for your undertone.
Step 8: A touch of glow
Tap a cream highlighter or a clear balm on the tops of the cheekbones, the bridge of the nose and the cupid’s bow. Only powder the T-zone if you are shiny.
Products for your skin type
- Dry skin: hydrating tints and cream products; skip powder
- Oily skin: a mattifying primer on the T-zone, lightweight tint, powder only where needed
- Sensitive skin: fragrance-free mineral tints
- Mature skin: creams over powders; highlighter only on high points
Common mistakes
- Too much product: build slowly instead
- Skipping skin prep
- A base that is too light or too pink
- Heavy powder, which removes the glow
Want more definition?
For work or events, move to our 10-minute natural makeup routine. Pick the right tools with our guide to makeup brushes, and discover new launches in this month’s beauty news.
FAQ
How long does the no-makeup look take?
About five to eight minutes once you know the steps.
Can I do it without foundation?
Yes. If your skin is fairly even, use concealer only where needed.
What is the difference between a skin tint and foundation?
A skin tint is sheerer and more hydrating; foundation offers more coverage.